Quick Tips
Attachments and Scanning
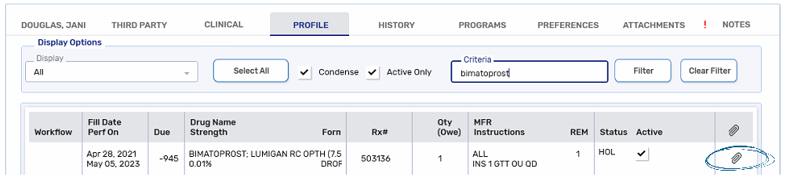
An Attachments column is available on some grids located throughout Propel Rx. On grids such as those located on the Patient Profile or Attachments tab, you can open the attachment by left clicking on the paperclip icon .png) using your mouse.
using your mouse.
On the Workflow, Daily Rx Count, and Batch Manager grids, the process for opening an attachment is different. To open an attachment from these locations, follow the steps below:
-
Right click on the paperclip column
using your mouse. You can do this even if no attachment has been added yet. This allows you to scan documents or add attachments from this window. 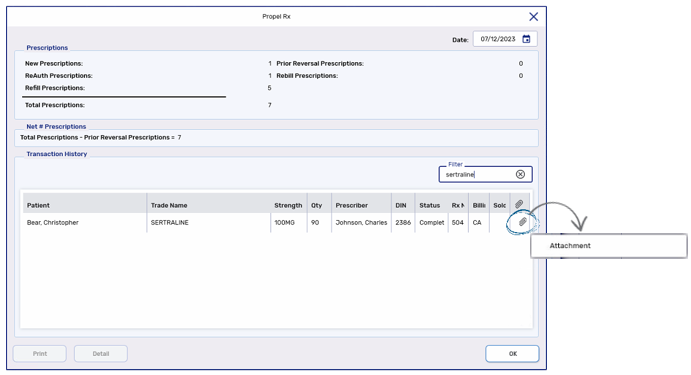
-
Select Attachment. The Attachment window opens with each attachment displayed as a separate row.
-
Open an attachment by left clicking on the paperclip icon
using your mouse. 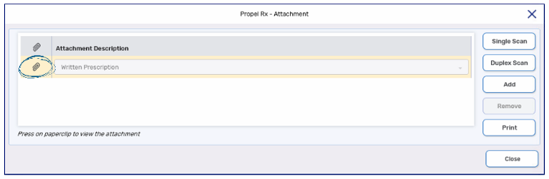
Digital Workflow
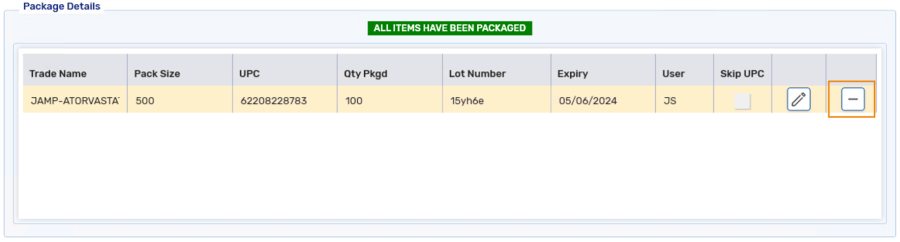
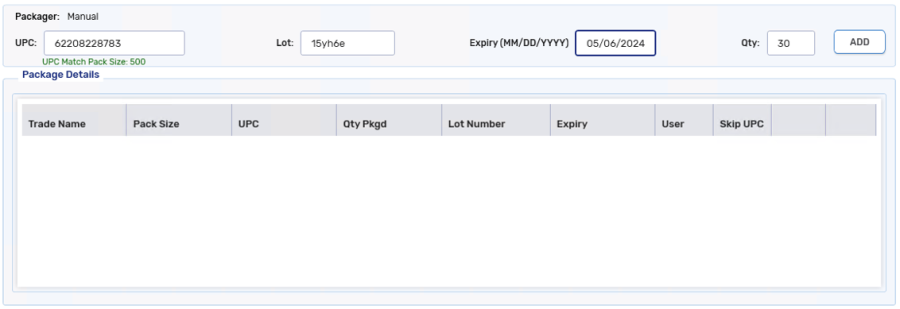
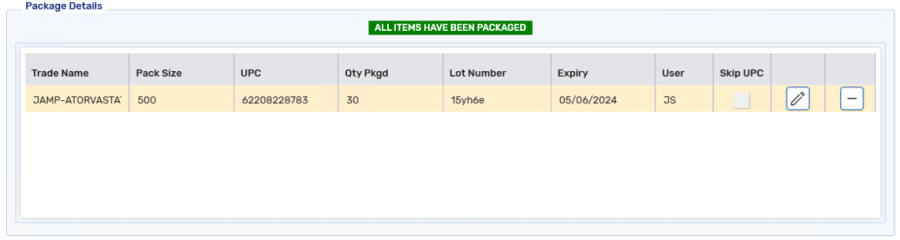
To repackage a prescription for a quantity less than the original quantity, remove the previously entered rows in the Package Details section. After doing so, you can re-enter the UPC, Lot, Expiry, and Qty as per usual process.
Groups and Batching
If one of your Group patients is hospitalized, update their patient status to Hospitalized in the Patient Folder Main tab. Prescriptions for Hospitalized patients are not pulled into a Batch.
If you remove a patient from a non-retail group, Group Rx Statuses for all their prescriptions are removed and not automatically reinstated when they are added back to the Group. If you would like to keep the Group Rx Status settings, change the patient status instead of removing the patient from the Group.
To set a patient's status to Hospitalized:
-
Open the Patient Folder.
-
On the Main tab, dropdown the Status field.
-
Select Hospitalized.
-
Select Save.
Labels


Patient
Table 3. Indicators on the Patient Profile.


Prescription
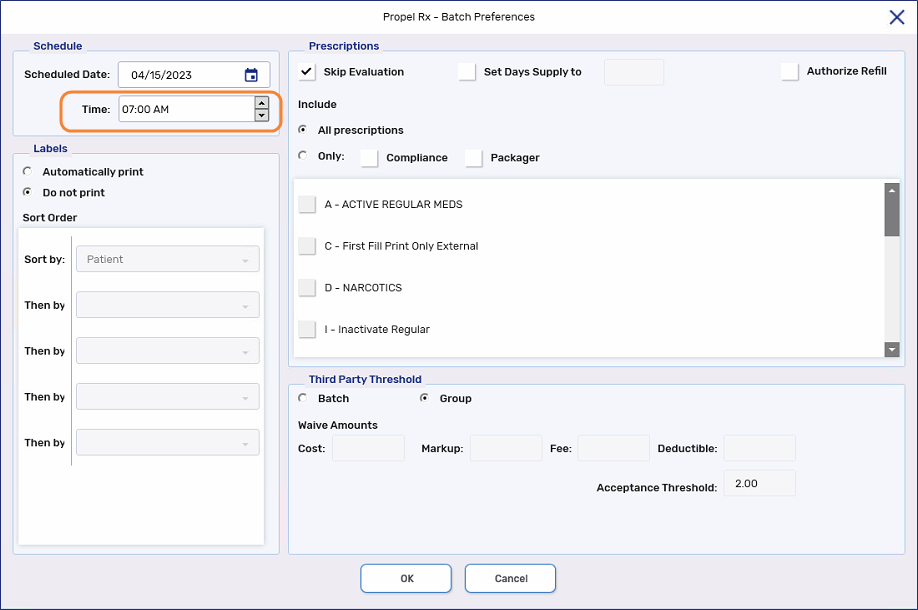
When scheduling a Batch or prescription, avoid choosing a time for the Batch that falls between 12:00am - 5:30am local time. During this timeframe, important processes occur including Third Party maintenance and scheduled upgrades, which may cause prescription processing to fail.
When you need to remove an intervention code in the Rx Detail Third Party tab, the intervention code row must be highlighted for the Remove function to work. When you click on an intervention code, you may inadvertently highlight the text of the code rather than the row itself.
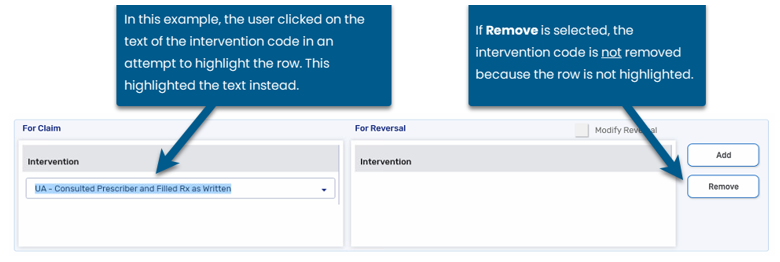
To quickly highlight an intervention code for removal, use either of the following methods:
-
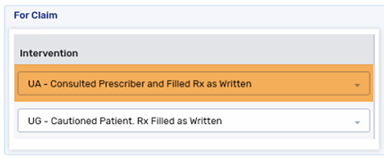
Double click anywhere inside the intervention code field or the area surrounding it. In the example below, the area you can double click for the UA intervention code is highlighted in orange.
-
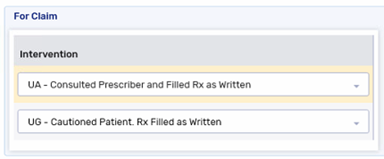
Click anywhere in the area surrounding the intervention code field. In the example below, the area you can click for the UA intervention code is highlighted in yellow.
Province Specific
On the Alberta EHR Profile (i.e., Patient Medication Profile, Eligible EHR Rx's, Historical EHR Rx's, EHR Rx Search), icons are used to indicate the source of the prescription or identify that it's for an Other Medication.
Table 3. Icons on the Alberta EHR Profile.
| Icon | Description |
|---|---|

|
Cancer Center Dispense |

|
Blue Cross Dispense |

|
Pharmacy Netcare Batch Dispense |

|
Other Medication |
Search
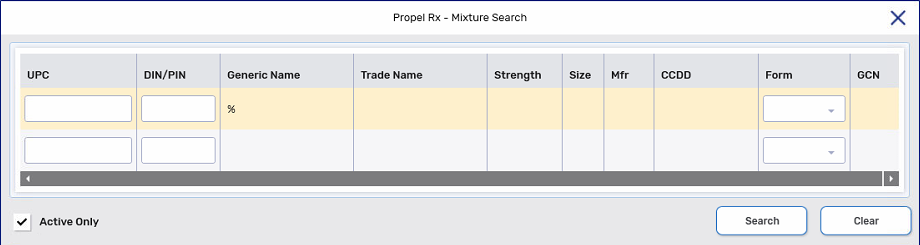
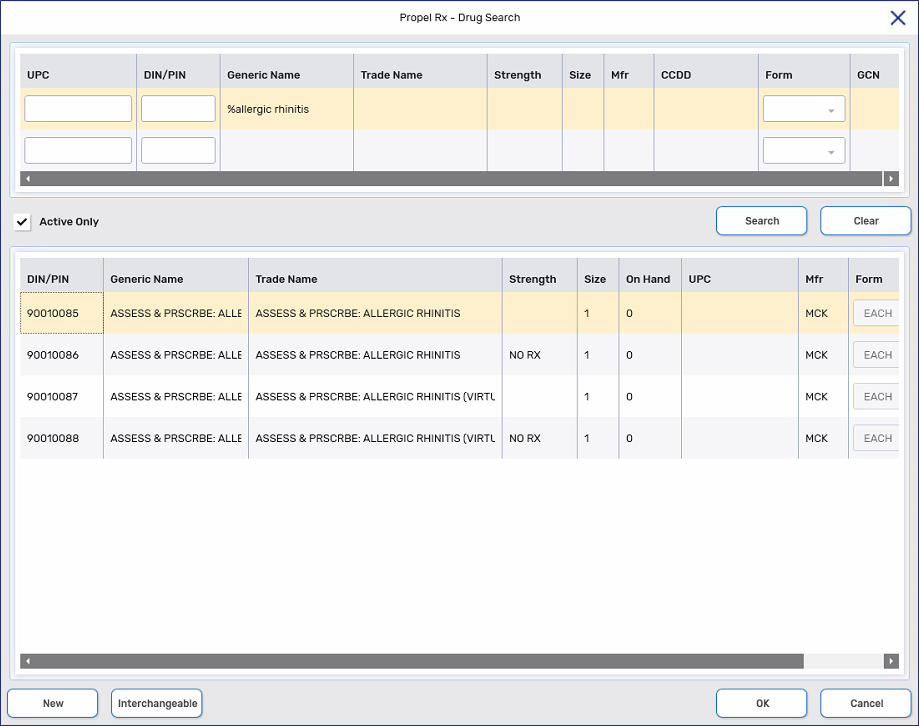
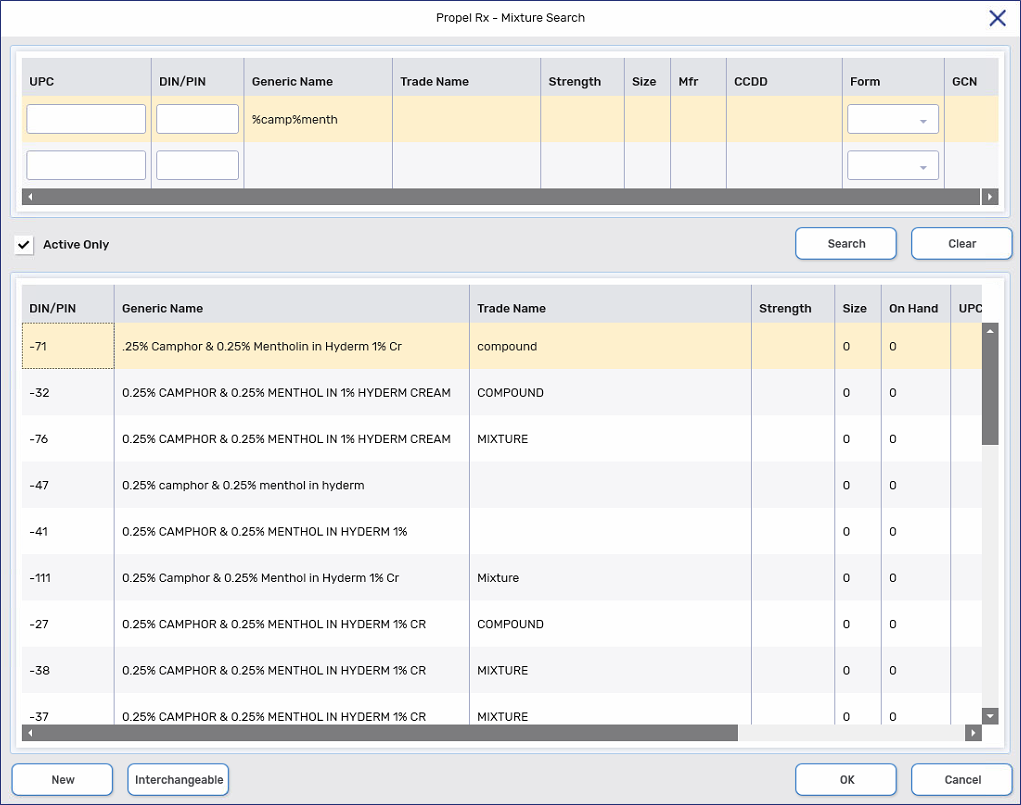
A wildcard allows you to replace single or multiple characters in a word or phrase. In Propel Rx, a wildcard is denoted by a percentage symbol % and can be placed at the beginning, middle, or end of a search term. Multiple wildcards can be included in a search. When entered, Propel Rx searches for matching results that have no, one, or more character(s) in place of the %.
Some uses for a wildcard include the following:
-
Retrieve a list of all records. For example, you can enter a % in the Mixture Search Trade Name or Generic Name field to retrieve a list of all Mixture Folders.


Certain search fields are constrained to follow a specific format and cannot include a wildcard (i.e., dates, P.O.#).
Workbench
By default, the Workbench displays prescriptions that are currently in Workflow with a Ready Time of today. Any prescriptions that do not complete Workflow are carried over to the view for the next day.
To change the calendar view:
-
Select the calendar button
 beside the Filter field. The Workbench Calendar window opens.
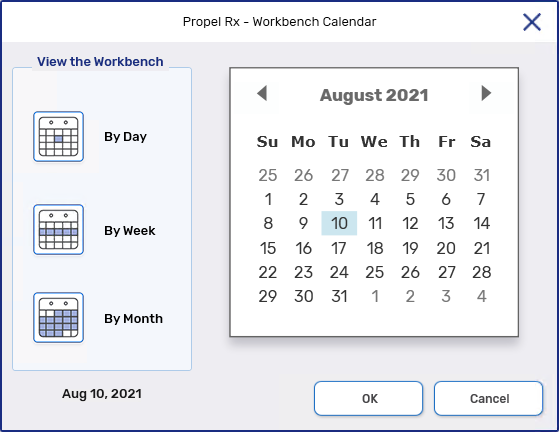
-
On the left side, select whether to view the Workbench by day, week, or month.
-
If By Day is selected, prescriptions with a Ready Time up to that date are displayed.
-
If By Week is selected, prescriptions with a Ready Time within that week (spanning Sunday to Saturday) and before are displayed. For example, if Thursday, April 27 is selected, prescriptions with a Ready Time between Sunday, April 23 and Saturday, April 29 are included.
-
By Month is selected, prescriptions with a Ready Time for that month and before are displayed. For example, if Thursday, April 27 is selected, prescriptions with a Ready Time in April are included.
-
-
On the right side, select the applicable date.
-
Select OK. The prescription gird is updated based on your selection. The Workbench view is also indicated above the Today calendar button
 .
. 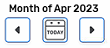
Table 4. Workbench icons and indicators.


